参考链接:
晨旭OvO原创文章https://blog.csdn.net/a1228136188/article/details/109092435
本文为CSDN博主「DuebassLei」https://blog.csdn.net/m0_37903882/article/details/112655290 https://blog.csdn.net/m0_37903882/article/details/112655290
前沿:
mac终端的使用,这里只使用系统自带的终端+oh my zsh,无iterm2、hyper等
- 使用iterm2的好处是配置界面丰富主题多,有支持lz、sz的方法
- 不使用iterm2的好处是省去一个软件,配置也不算是麻烦
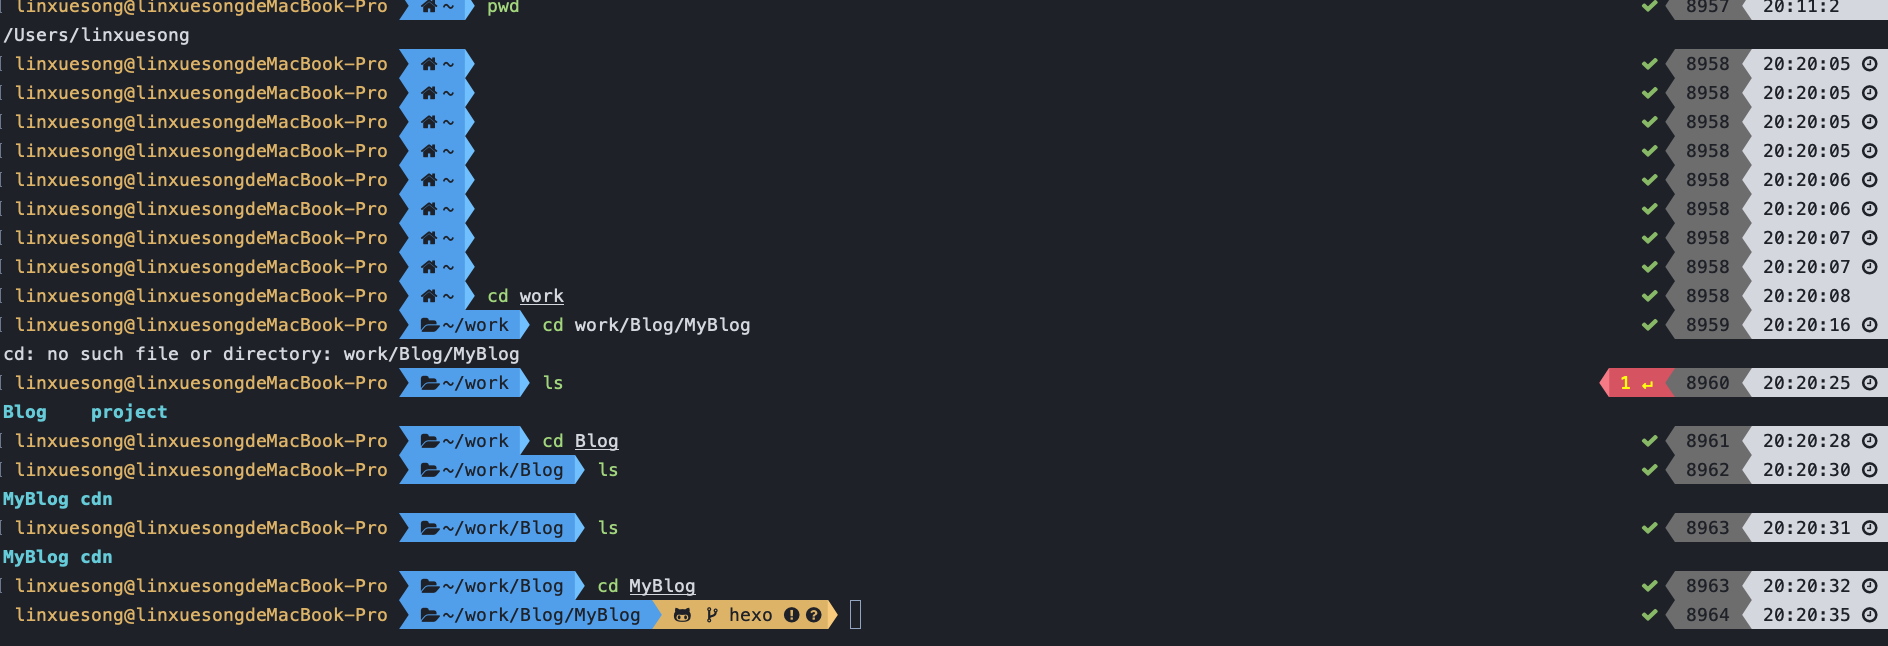
最终效果如下
设置步骤如下
1.下载zsh、oh-my-zsh
Zsh
// a 安装
yum install -y zsh
// b 查看
zsh --version
// c shell由bash变为zsh
chsh -s /bin/zsh
// d 验证 #重新查看目前默认的shell,已经变为bin/zsh
echo $SHELL
Oh-my-Zsh
sh -c "$(curl -fsSL https://raw.github.com/ohmyzsh/ohmyzsh/master/tools/install.sh)"
2.配置zsh
修改配置文件
vi ~/.zshrc
配置文件修改如下
# 1.Path to your oh-my-zsh installation. on-my-zsh命令成为zsh命令
export TERM="xterm-256color"
export ZSH="/root/.oh-my-zsh"

#default  2.设置主题为powerlevel9k
#ZSH_THEME="robbyrussell"
ZSH_THEME="powerlevel9k/powerlevel9k"

# 3.plugins=(git)  改为  plugins=(git zsh-syntax-highlighting zsh-autosuggestions)
plugins=(git zsh-syntax-highlighting zsh-autosuggestions)

source $ZSH/oh-my-zsh.sh
3.根据配置添加所需资源
安装主题
git clone https://github.com/bhilburn/powerlevel9k.git ~/.oh-my-zsh/custom/themes/powerlevel9k
安装主题powerline字体
# 下载
git clone https://github.com/powerline/fonts.git

# 进入文件夹并安装
cd fonts
./install.sh
安装 Awesome-Terminal Fonts字体
git clone https://github.com/gabrielelana/awesome-terminal-fonts.git
cd awesome-terminal-fonts
./install.sh
安装nerd-fonts显示图标
#下载
git clone https://github.com/ryanoasis/nerd-fonts.git
#安装同上
安装插件
# 代码高亮安装zsh-syntax-highlighting
git clone https://github.com/zsh-users/zsh-syntax-highlighting.git
${ZSH_CUSTOM:-~/.oh-my-zsh/custom}/plugins/zsh-syntax-highlighting
# 自动补全命令
git clone https://github.com/zsh-users/zsh-autosuggestions
${ZSH_CUSTOM:-~/.oh-my-zsh/custom}/plugins/zsh-autosuggestions
4.更新配置文件
source .zshrc
关闭重启终端
如果发现报错说明第三步 配置所需资源安装不成功
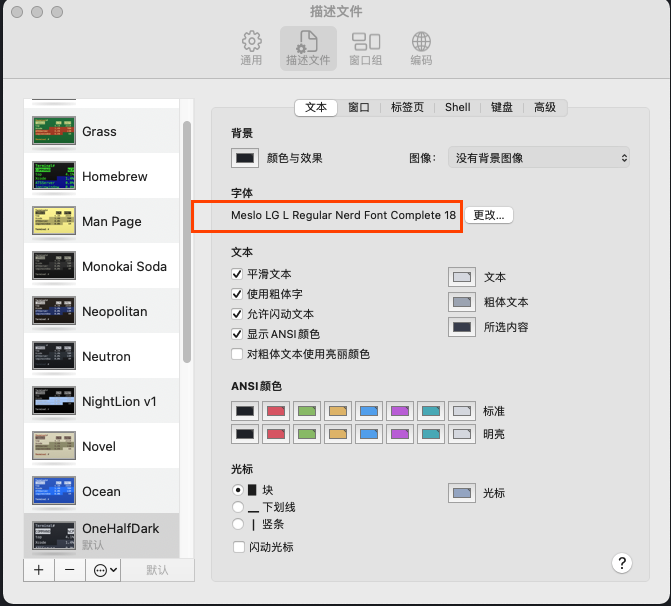
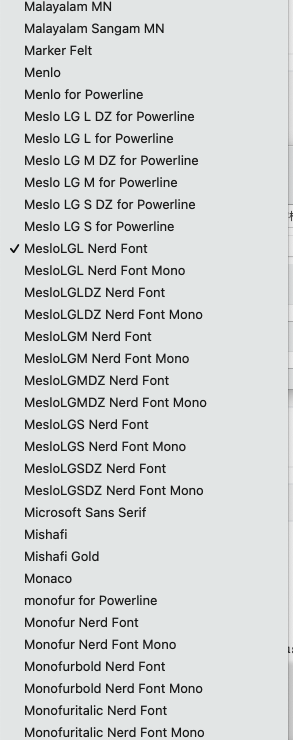
问题一:如果最后配置完显示乱码,一定是终端展示的字体问题